Supercharging John the Ripper with OpenMPI
16 May 2013John the Ripper (John for short) is an open source, multi-platform, best-of-breed password cracking tool – primarily, because it’s fast, versatile and highly customisable. John not only supports a wide variety of hashes, but also is able to accept a variety of customised rules and parameters.
Unfortunately however, John doesn’t leverage the multicore CPU you have in your machine, since it is, by default, singlethreaded. As such, if you own a CPU that supports multithreading, John will probably end up run slower since it would only be working with an approximate maximum of half of the total CPU capacity of a single core.
Fortunately, John can be made to run on multiple cores with multiple threads with OpenMPI. Yes, I am aware that this subject has been covered before, however, since I haven’t found anything online about setting this up from start to finish on a Mac running OS X 10.8 (Mountain Lion) I’m going to cover just that.
Approach
We’ll need to install Apple’s Xcode, download the latest versions of both OpenMPI and John, enable a few flags, and compile OpenMPI and John from source. After we compile John, we’ll also be taking a brief look at another configuration we can use to enable John to compete for CPU time an not only make use of idle CPU cycles. Let’s jump right in!
Step 1 – Downloading Xcode
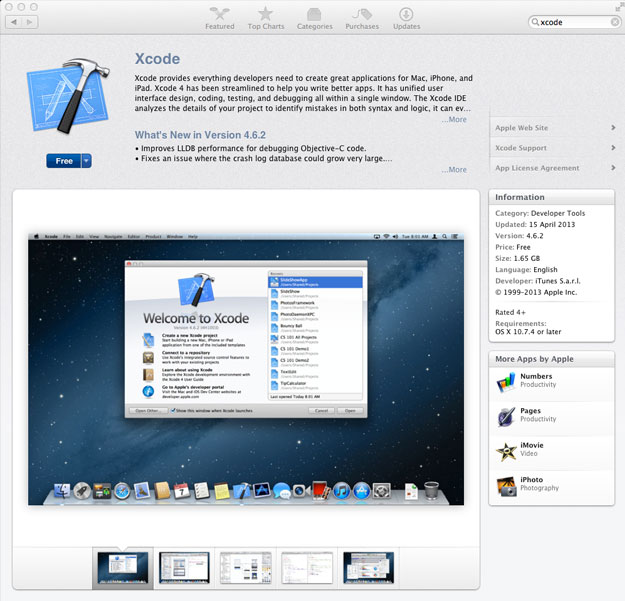
We’ll start off by downloading Apple’s Xcode. We’ll need Xcode in order to be able to install the GCC compiler out of the box. I’m sure you can install GCC without installing Xcode (it’s probably not that difficult) but for simplicity’s sake, we’ll be going with Xcode.
In order to download Xcode, you’ll want to head over to the Mac App Store. On older versions of OS X, you can probably find a DMG file somewhere and install Xcode from there (you might run into some incompatibilities if you do this on older Macs).
Step 2 – Installing Command Line Tools
Once Xcode is downloaded and installed, go ahead and start it up. You should be greeted with a splash screen saying ‘Welcome to Xcode’. Navigate to Xcode > Preferences in the top menu, or the usual ⌘, for shortcut fans. In the Preferences window, navigate to the Downloads tab. There you should be able to download and install the Command Line Tools from within Xcode. Go ahead and click Install.
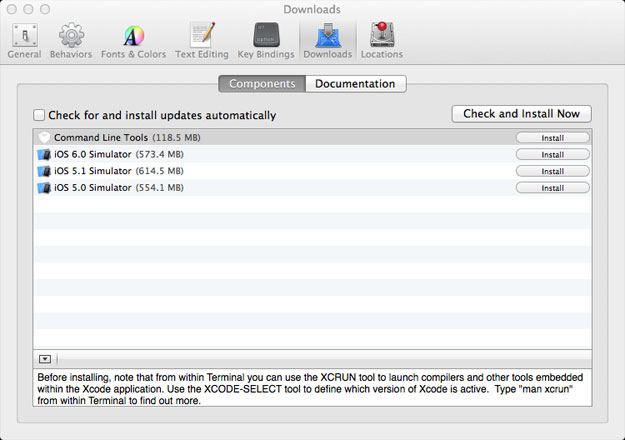
If you try to run the make command before we install Xcode and its Developer Command Line Tools you will get a make: command not found error. The make command invokes the compiler, and based on the Makefile (more on this later) the compiler will compile the source code into executable files.
Step 3 – Compiling and Installing OpenMPI from source
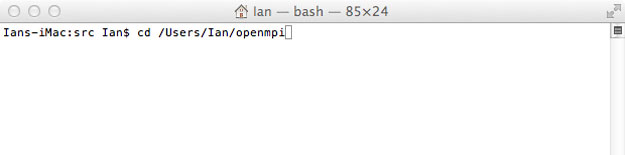
Now that we’ve got all the Command Line Tools installed, let’s compile and install OpenMPI. As far as I know you can’t download a binary version of OpenMPI the Mac. Compiling it from source is not too hard anyway. Download the OpenMPI source from here to get started. If you’re confused as to which file to download, go with the first one – it’s the latest version. Place the folder somewhere predictable. I placed it in my home directory and renamed it to openmpi make things simpler.
If you haven’t yet fired up your Terminal, now’s the time to do so. cd into the directory with all the source code.
Next, you’ll need to run ./configure --prefix=/usr/local . This will run a configuration application that will configure OpenMPI before actually compiling it. We’ll be using the /usr/local folder to host the OpenMPI installation.
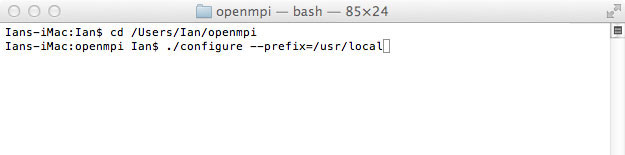
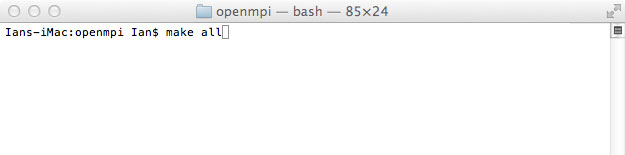
Once OpenMPI is configured, you now need to run the make all command.
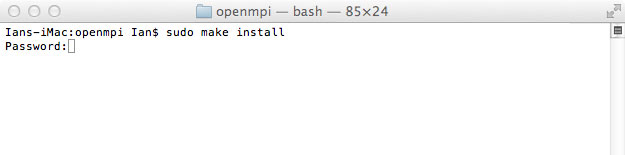
Finally, Install OpenMPI by running the sudo make install command. We’ll need sudo since we need administrative privileges to install applications. You will be prompted for your password, which won’t show up as you type it – that’s okay, just hit the return key when you’re done.
That’s it! OpenMPI should be successfully installed. You should be able to see new folders in your /usr/local folder. You can take a look at this directory in your Finder. If you haven’t installed anything except OpenMPI it should look similar to the screenshot hereunder.

Step 4 – Compiling and Installing John the Ripper from source
While OpenMPI took a little while to set up, it will be worth wile once we compile John, especially if you’re sporting a fast CPU on your machine!
Before we start to compile John, you need the latest Jumbo package. A Jumbo package is a community-enhanced package that implements some of the latest enhancements and tweaks from the John the Ripper community. Make sure you download the UNIX version and not the Windows version (in this case at least).
Unpack the archive file in which ever way suits you best. Once again, place the folder somewhere predictable. I placed it in my home directory and renamed it to jtr make things simpler.
Before we fire-up the terminal, we need to make some tweaks to the Makefile in our src directory (the Makefile is simply a file that tells the compiler how to build the program). For this we’ll need to have a good text-editor (you can use TextEdit if you like. But this should serve as an excuse to get your hands on a good text editor). If you like to work in the terminal, you can use nano, vi and the like. I’m using my favourite – SublimeText.
You’ll want to un-comment (remove the ‘#’ symbol at the front of the line) the two lines as follows (line numbers 23 and 24 at the time of writing) to enable OpenMPI in John.
#CC =  mpicc -DHAVE*MPI
#MPIOBJ = john-mpi.o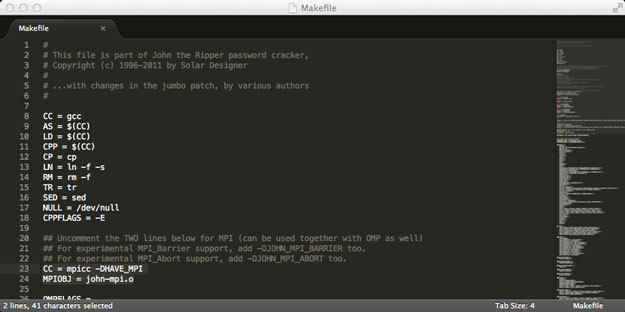
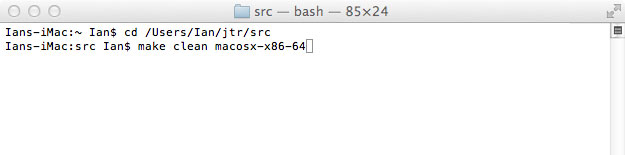
We are now set to compile John. Simply fire-up a Terminal window and cd into the directory you placed John’s source and simply run make clean macosx-x86-64 to compile John.
Step 5 – Additional configuration
By default, John does not compete for CPU cycles, but makes use of idle CPU cycles. Allowing John to compete for a share of the CPU speeds things up. While you can opt not to do this if you want to run John in the background, it’s recommended if you’re concerned about speed. In order to make changes to this configuration, from the newly compiled run directory, load john.conf into your text editor and uncomment the following line (currently line number 20 at the time of writing).
#Idle = N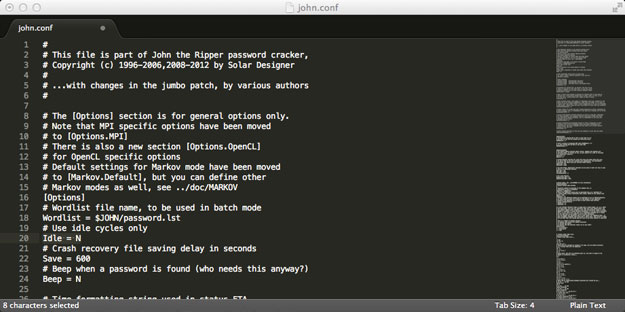
Step 6 – Running John
Let’s crack some passwords! First off, you’ll need a password list. If you don’t have one, just hash a few strings of characters using whatever hashing algorithm you like and throw it into a text file. hashes need to be one-per line.
Simply cd into the run directory and start the command with mpirun -np 8. 8, being the number of cores you want john to run on. You’ll need to append this with the actual command for John. So you can have something similar to the command hereunder, which will run 4 instances of John. Make sure you don’t omit the ./ in the command, or otherwise you’ll get an error thrown your way.
mpirun -np 4 ./john --wordlist --rules --format=raw-md5 /Users/Ian/sample-passwords.txtThat ought to wrap things up. I feel obliged to say this – It’s up to you how use password cracking tools, just do so responsibly and ethically.